
How I DIY’d My Own Pleated Lampshade

I’ve been eyeing these beautiful pleated lampshades that seem to live on every chic corner of Instagram and Pinterest. The only problem? They often run upwards of $100—a little wild considering my battery-powered sconces cost less than that combined. Naturally, I took matters (and a glue gun) into my own hands.
You can find everything I used on my LTK & a video tutorial here!
Materials You'll Need:
Fabric of your choice – Block prints look especially charming for this project. I grabbed mine on Amazon (linked here).
Bias tape maker (optional) – Makes finishing edges easier, but not required if you’re confident with folding. I made mine manually with a hot glue gun, but initially started with this set
Lamp shade or sconce frame – I used the ones my scones came with, but any size shade you have will do!
Hot glue gun + glue sticks – The real MVP of this DIY. Here’s the set I used!
Iron – To help press those crisp pleats and seal the edges
There are two routes you can take for this project:
Bias tape route – Clean and polished, but a bit more prep time.
Manual pleat route – Slightly faster, still just as cute.
I went the manual pleat route, and here’s how I did it:
Step-by-Step Instructions
1. Cut Your Fabric
Cut a rectangular piece of fabric that’s about 2 inches taller than your lampshade and long enough to wrap fully around it. Block prints look especially lovely for this!
2. Attach the Starting Edge
Using a hot glue gun, secure one edge of the fabric vertically along the inside or back edge of your lampshade.
3. Create Pleats
Begin pinching the fabric every inch or so to create small pleats, gluing each one down as you go. Work your way around the entire shade until it’s fully covered.
4. Finish the Fabric Wrap
When you reach the end, fold the raw edge under to create a faux hem, and glue it down over your starting edge for a clean finish.
5. Press the Pleats
Use a handheld iron to press your pleats gently but firmly all the way around the shade. This will help them look crisp and professional.
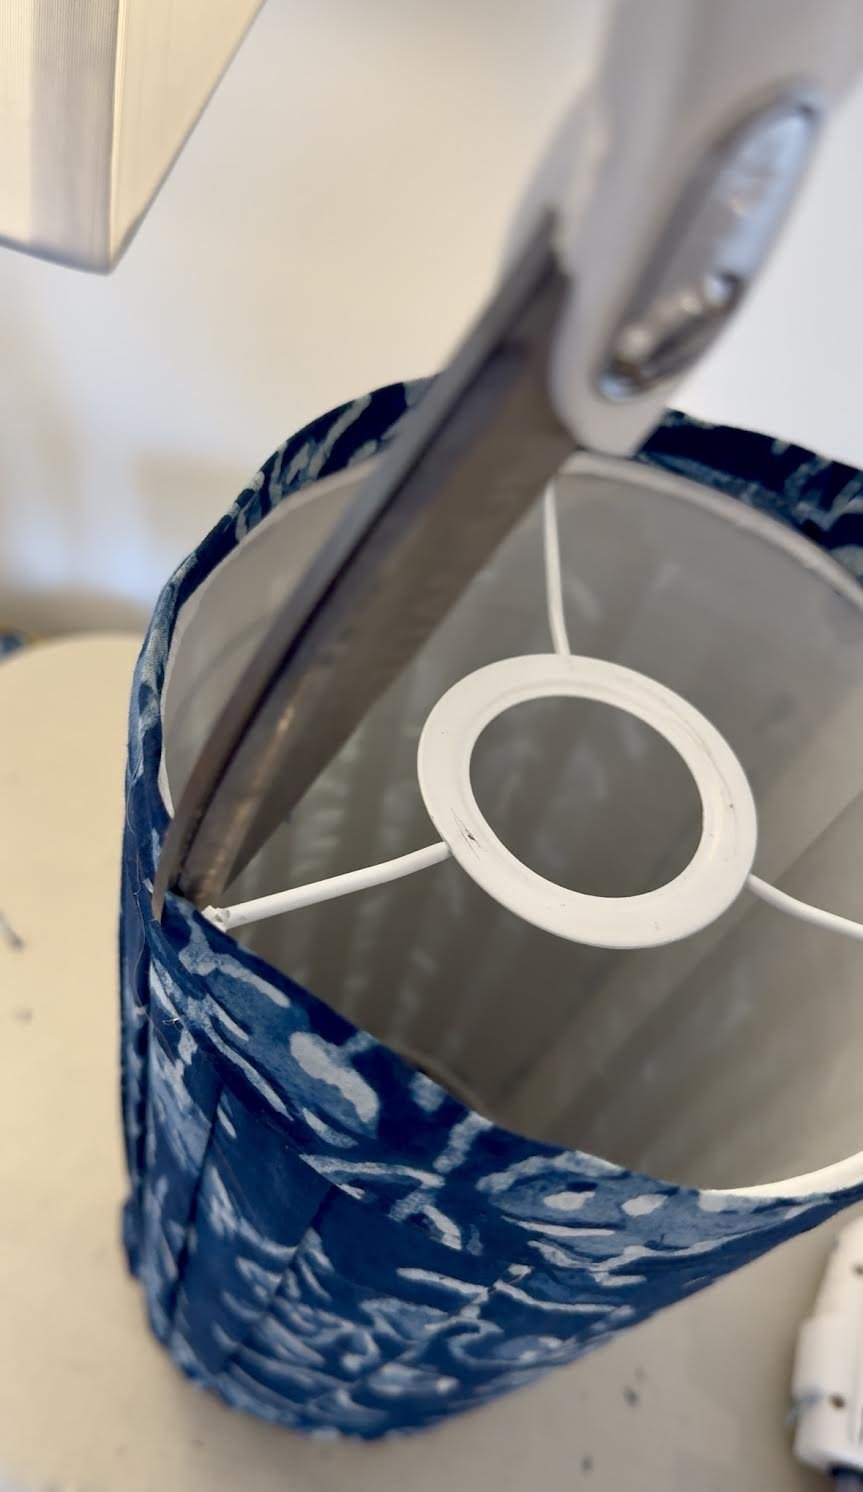
6. Trim the Excess
Using sharp scissors, trim the fabric around the top and bottom edges of the lampshade as close as possible. This creates a smooth surface for the trim and prevents any lumpiness.
7. Make Your Trim
Cut two long strips of fabric (about 3 inches longer than the top and bottom circumference of your shade). You can:
Use a bias tape maker and iron, or
Do it the lazy-girl way (like me): Fold and glue the long edges under, press with an iron, and voilà—DIY bias tape.
8. Attach the Top Trim
Wrap the bottom half of the tape around the top edge of the lampshade. On the part of the tape that extends over the top, cut small slits every inch to help it bend smoothly. Glue each slit tab down to the inside rim of the shade.

9. Attach the Bottom Trim
Repeat the same process for the bottom edge of the lampshade.
10. Final Press
Give everything one last gentle press with your iron. Just be careful—hot glue can melt a little under heat, so avoid shifting your fabric too much.
11. Style and Enjoy
Screw your lampshade back onto its base and bask in the cozy, handmade glow of your own creation.